Byline metadata identifies the public author, publish date, and most recent update month.
Article guide
Article metadata and section shortcuts for this public resource guide.
This action leaves the article and opens the searchable public resources index.
Browse all resourcesIn this guide
Jump to a section in this resource without leaving the article.
The article body can include headings, links, lists, quotes, and images from the published resource content.
Farmers Market Vendor Application Checklist
A vendor application should do more than collect a name and email address. It should give applicants a fair, understandable path to apply and give the market team the information it needs to make the next decision without rebuilding the record in an inbox or spreadsheet.
Use this checklist before opening a seasonal, recurring, or one-off farmers market application. It is an operations guide, not legal, food-safety, insurance, tax, or accessibility advice. Your market agreement and the requirements that apply locally should always control.
Set the operating rules before writing questions
Applicants can only give useful answers when the market has decided what happens after submission. Before publishing, write down the application window, expected review period, eligible categories, attendance expectations, fee timing, required documents, and the person who owns each review stage.
Make these decisions visible to applicants:
- When the application opens, closes, and is likely to be reviewed.
- Which vendor categories, products, and locations are eligible for this market.
- Whether applying, being approved, and receiving a particular date or booth are separate decisions.
- Which documents are needed at application time and which can be supplied after conditional approval.
- How applicants can ask a question or correct a submission.
Avoid promising acceptance, a specific space, or a fixed timeline that the market cannot honor. Clear expectations reduce duplicate emails and let staff evaluate submissions consistently.
Collect the information that changes a decision
Every application question should help with eligibility, review, communication, planning, or a record the market needs to keep. A shorter form with clear next steps is usually more useful than a long form that asks for information nobody uses.
Vendor and contact details
- Business or farm name and primary contact.
- Email and market-day phone number.
- Mailing location if it affects eligibility or communication.
- Returning-vendor status and preferred contact method.
- Website or public profile only when the review process uses it.
Products and category fit
- Vendor category using the market's own definitions.
- A clear product list or product categories.
- Sourcing, production, ingredient, or certification information only when it is relevant to published policy.
- Photos, menu, or public links when they help the review team evaluate the application.
Attendance and space needs
- Dates, season, or attendance pattern requested.
- Booth size, equipment footprint, vehicle, power, water, or accessibility needs that affect placement.
- A clearly labeled preference or adjacency request, with no promise that it will be granted.
Separate a preference from a requirement. That distinction helps the team make fair assignments when several vendors want the same location.
Make requirements conditional and reviewable
Not every vendor needs the same permit, insurance record, certificate, or acknowledgement. Show requirement questions only to the categories they apply to, and explain what staff will review. This keeps the form understandable and prevents applicants from treating an irrelevant upload as a barrier.
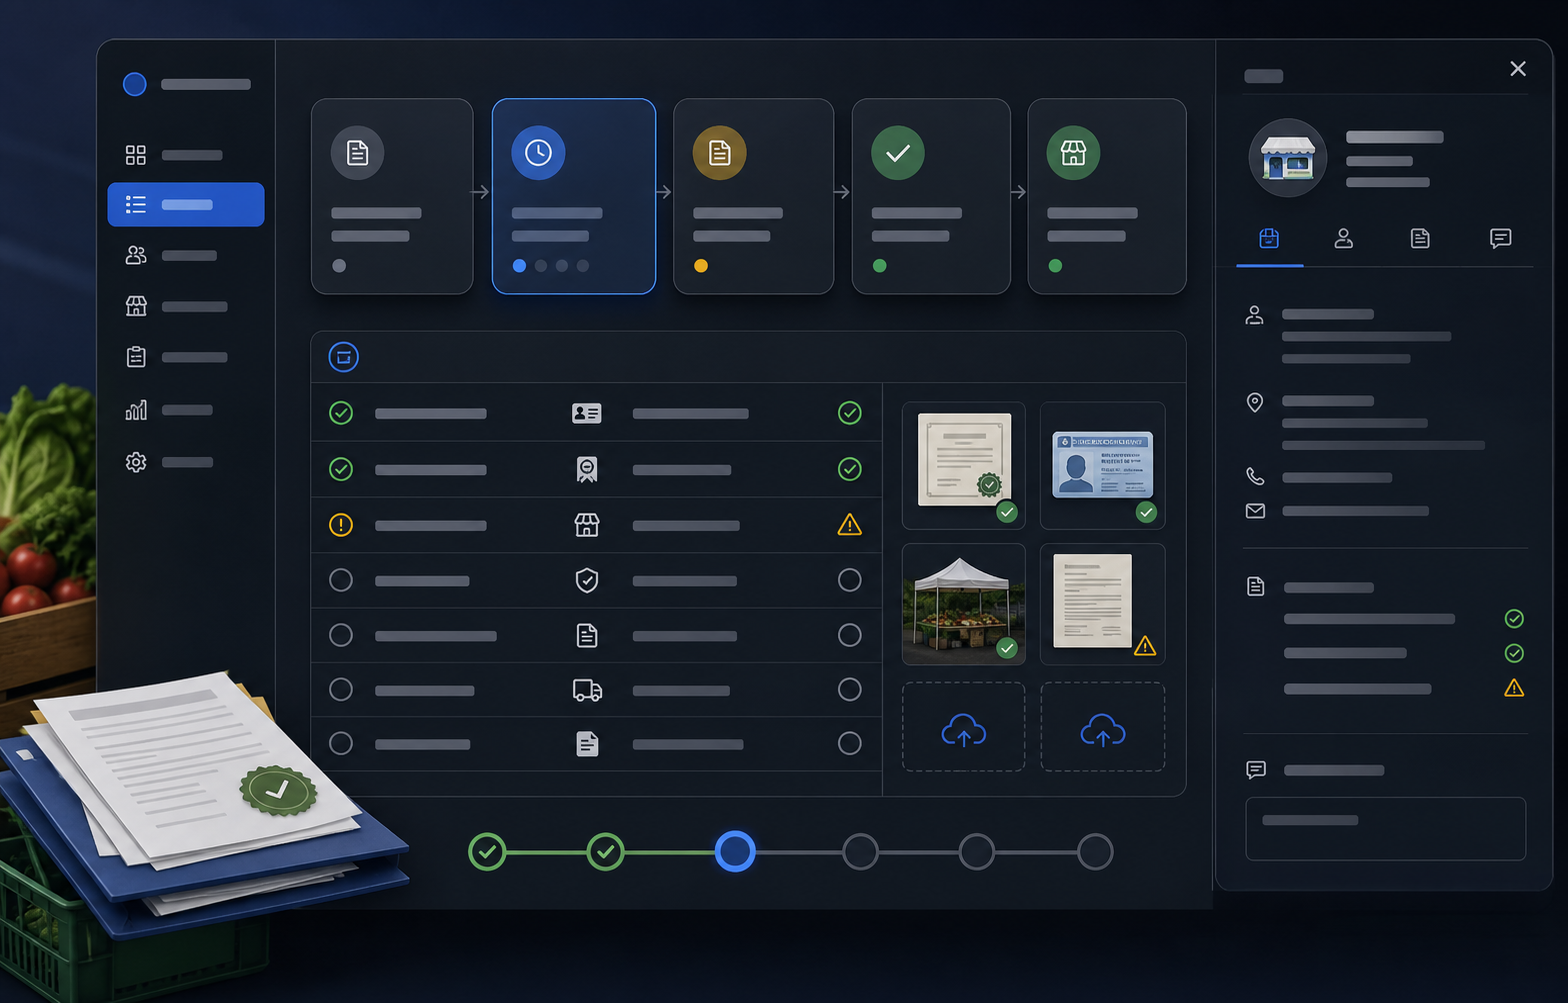
For every required document, define the status staff will use: received, needs review, needs update, accepted, expired, or not applicable. Name the reviewer and explain what happens when something is incomplete. Keep private reviewer notes separate from the applicant-facing status.
The goal is not to make a document upload look complete. The goal is to preserve the decision, its owner, and the next action until the vendor is ready for market day.
Use a small set of application statuses
Applicants and staff should be able to understand the same status language. A reliable application process often needs only a few states:
- Received: the market has the submission and has not completed review.
- Needs information: a named answer, document, or correction is still required.
- Under review: the application is complete enough for a decision.
- Approved or conditionally approved: the vendor can move to the stated next step, subject to any listed conditions.
- Waitlisted or declined: the market communicates the outcome under its published process.
Use a named next action with every non-final status. "We will be in touch" is not an operating instruction; it leaves both the applicant and the review team guessing who owns the follow-up.
Test the approval handoff
The most revealing part of an application process begins when a vendor is approved. Run one realistic test submission and ask whether the information needed for the first market day is already available: contact details, product category, requirements, communications, requested dates, space needs, and any approved exceptions.
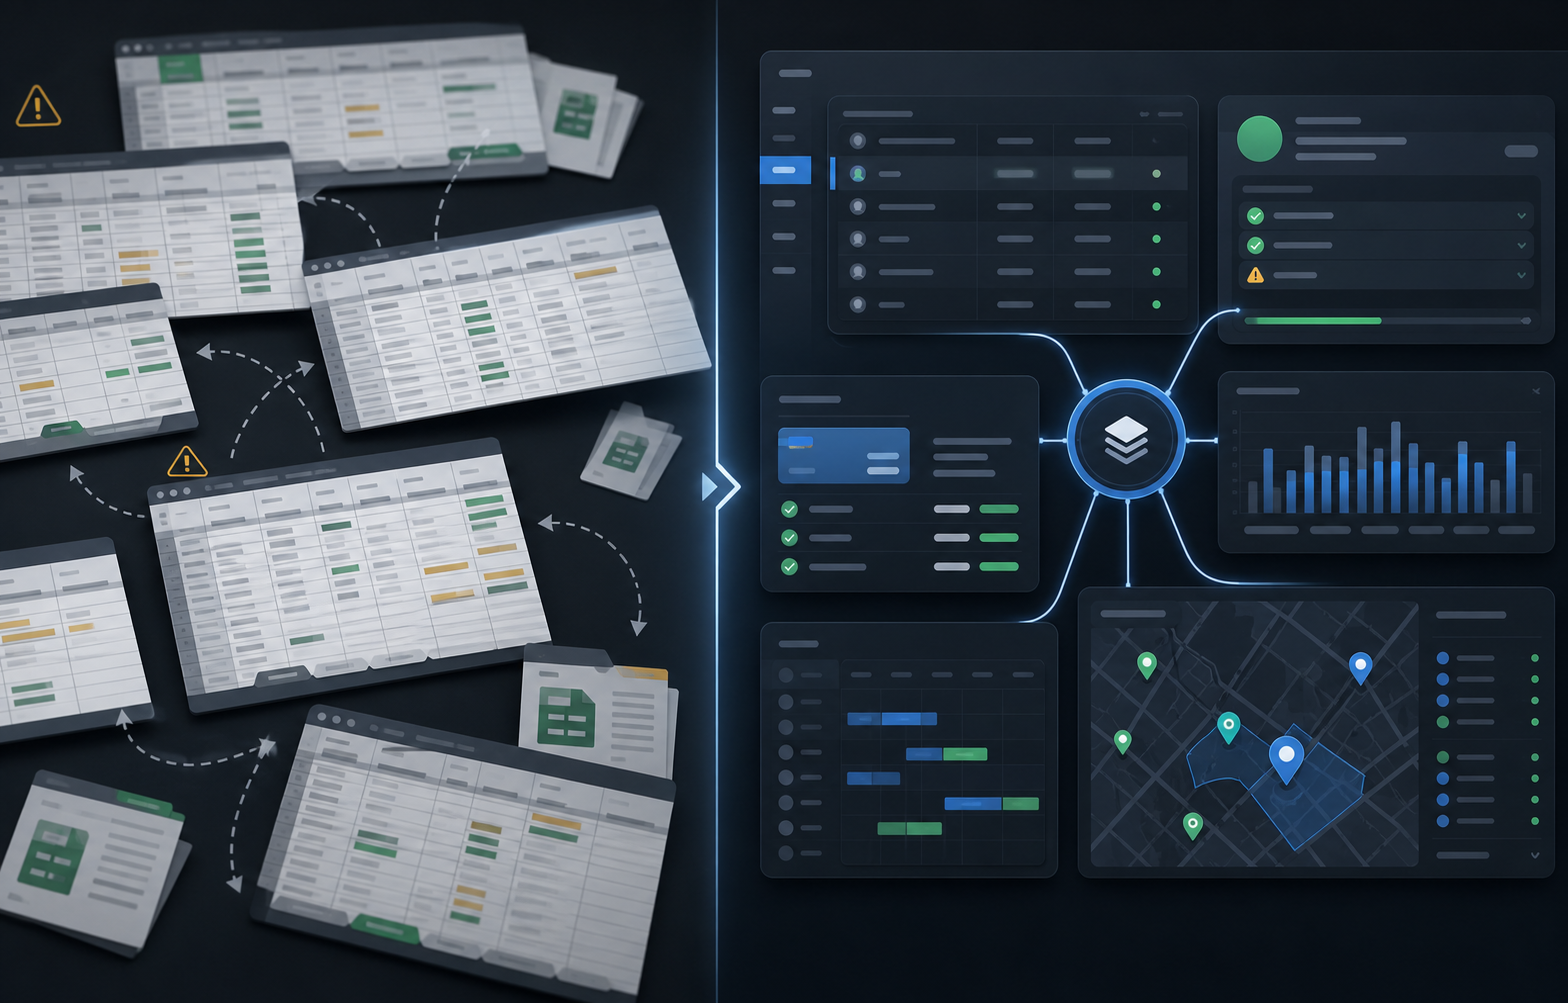
If staff must retype the same details into a roster, map, payment tracker, or email thread, record that handoff as part of the real cost of the current process. The application is only useful when the decision can travel with the vendor record into planning and closeout.
Run a pre-launch check in 30 minutes
Before publishing the form, have one staff member complete it as a new vendor and another complete it as a returning vendor. Check that:
- Instructions and deadlines are visible before the first required answer.
- Conditional requirements appear only when relevant.
- The confirmation message explains what happens next.
- A reviewer can identify missing information without searching an inbox.
- An approved vendor has the information the operations team needs for the next session.
- Private staff notes and applicant-facing communication stay separate.
Fix the unclear question or workflow while the form is still a draft. That is much easier than correcting a season of incomplete applications.
Keep the market team connected after approval
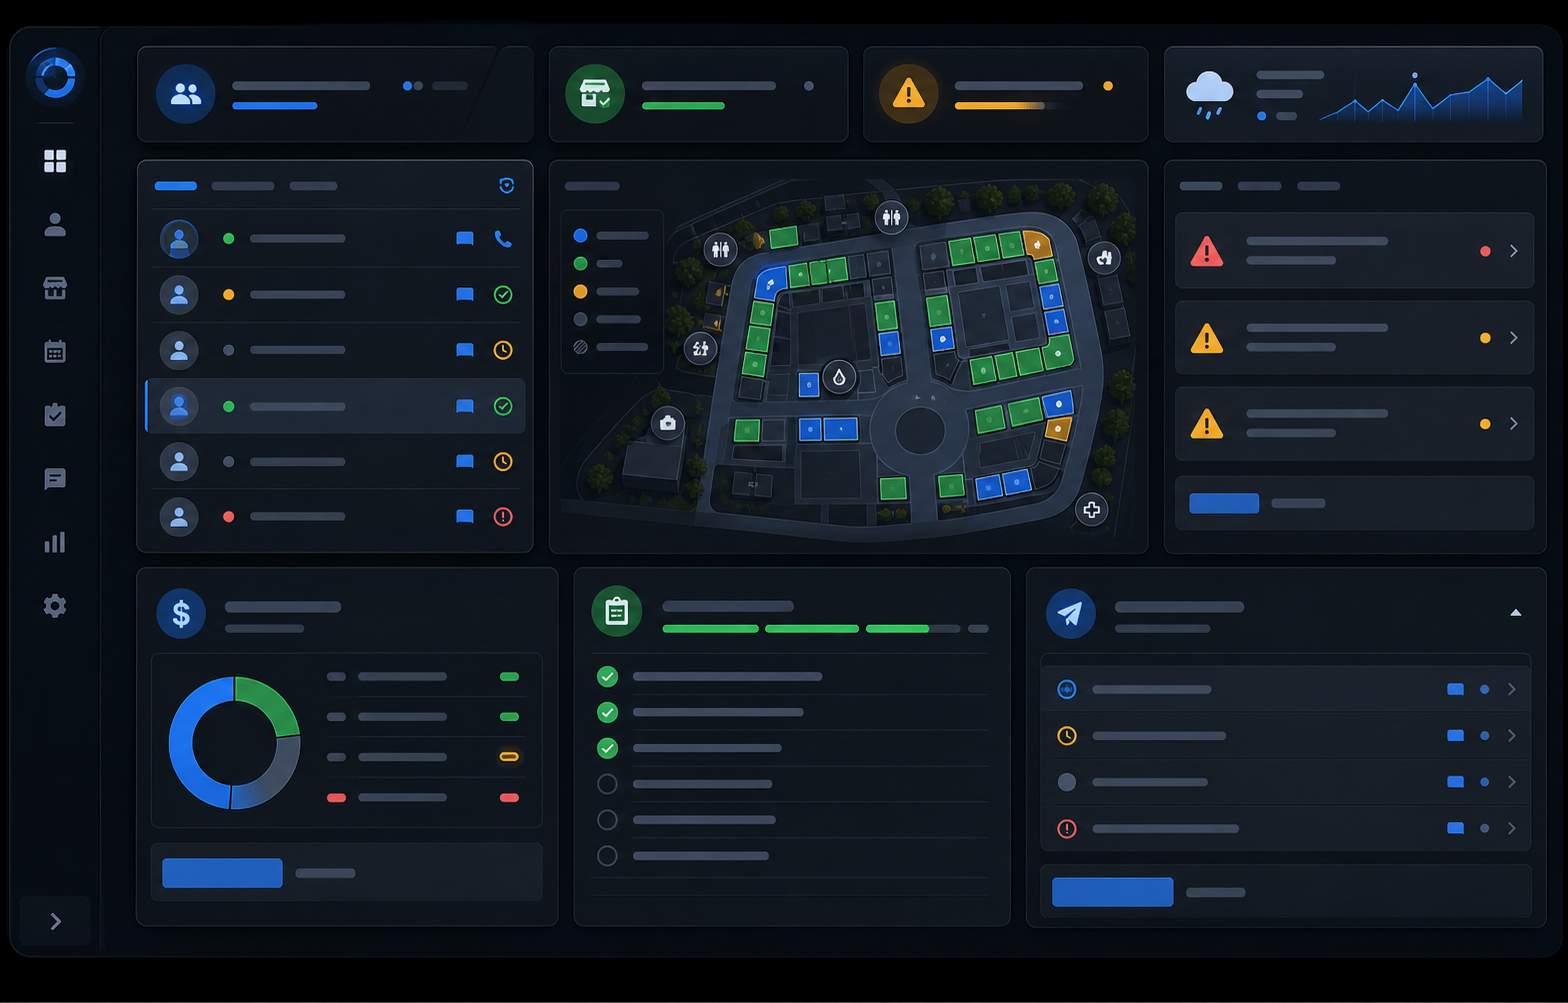
A standalone form can be a good fit for a simple or infrequent process. A connected workflow becomes valuable when application answers need to inform review, document tracking, vendor communication, booth planning, market-day notes, payments, and reporting across repeated sessions.
The Market Manager's vendor application software connects public applications to review, vendor records, requirements, market operations, and reporting. Use this checklist to evaluate the actual handoffs your team needs—not just the first form screen.
Explore the farmers market management software workflow
See how The Market Manager connects this resource topic to vendor applications, market-day operations, payments, permits, and reporting.
This action opens a related public workflow page selected from the article topic.